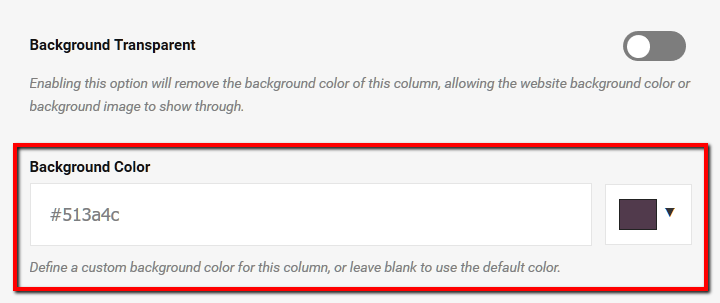
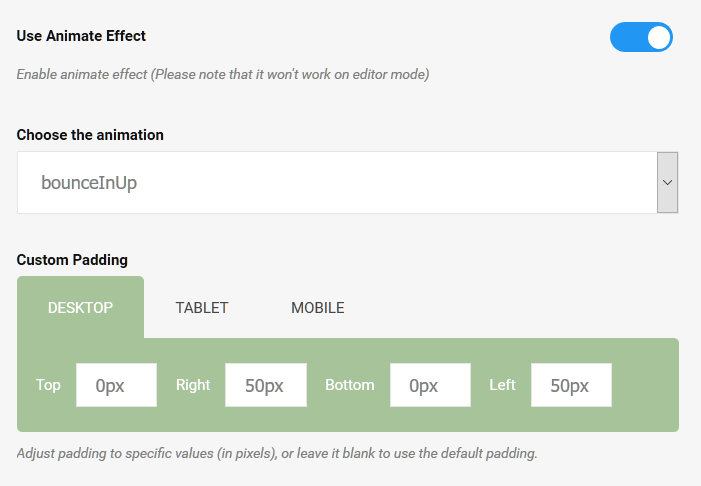
 You can refer to the following example to see how the section looks in a live site: http://linentemplate.weebly.com/home-2.html Step 1: Drag & drop X element Within Weebly Editor, click on Build tab, navigate to THIRD PARTY section then drag and drop X into the right position of your building page.  Step 2: Choose display mode Click on a blank area of X and choose Fullwidth in a pop-up Settings box. 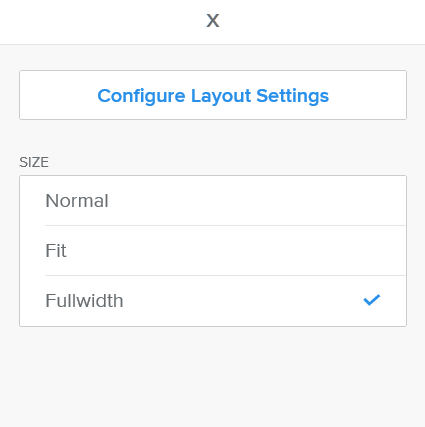 Step 3: Choose column structure In the Setting box, click on Configure Layout Settings to show the Settings panel. 3.1. Click on LAYOUT. 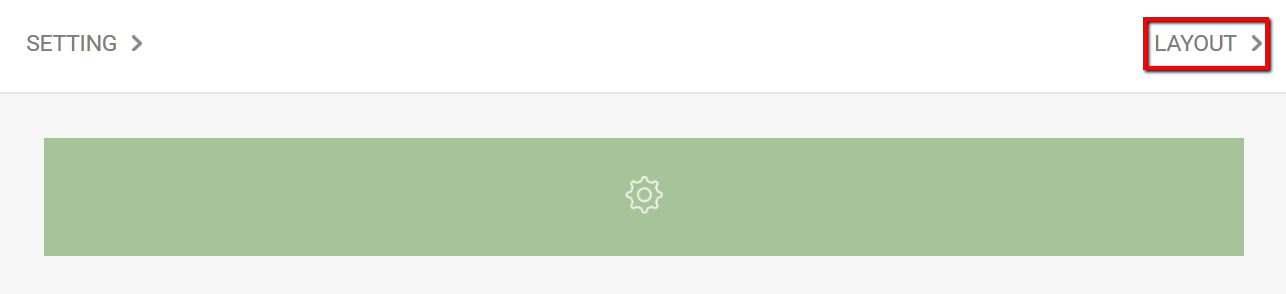 3.2. Choose the 1/2 - 1/2 layout. 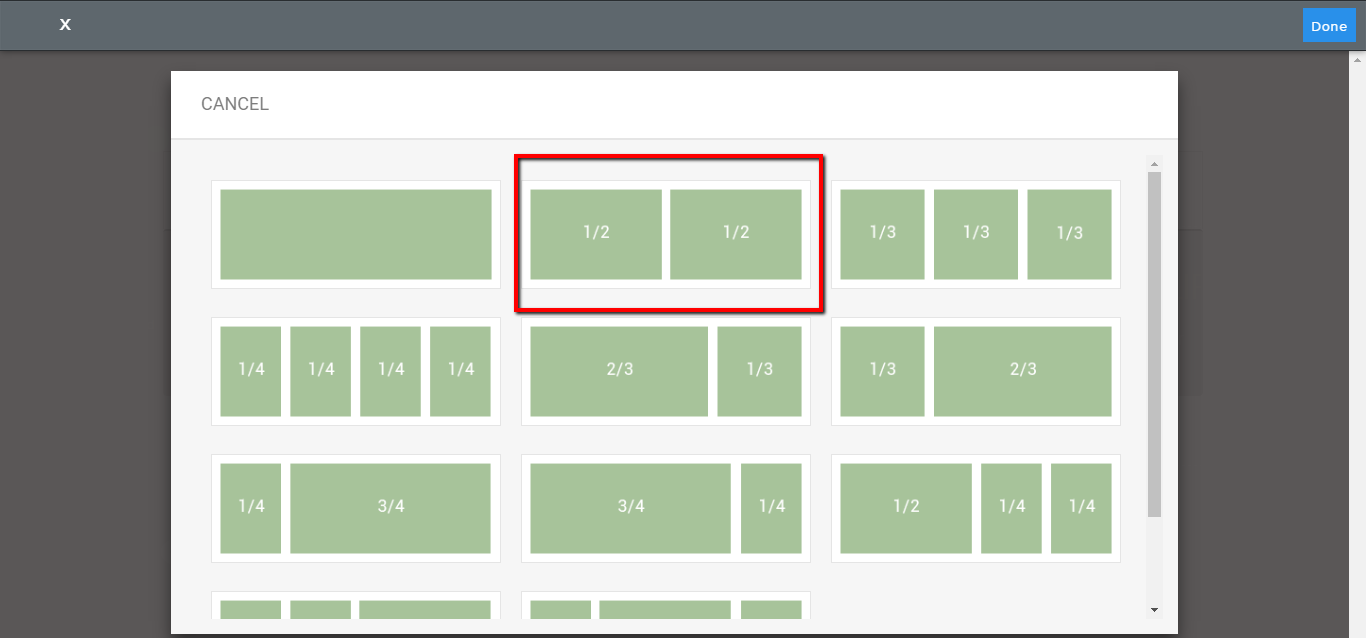 3.3. Click on SETTING. 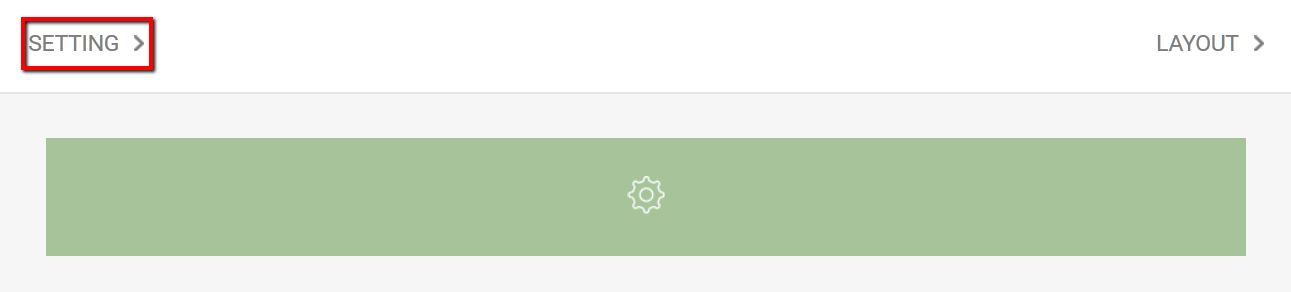 3.4. Set font sizes for title and text. 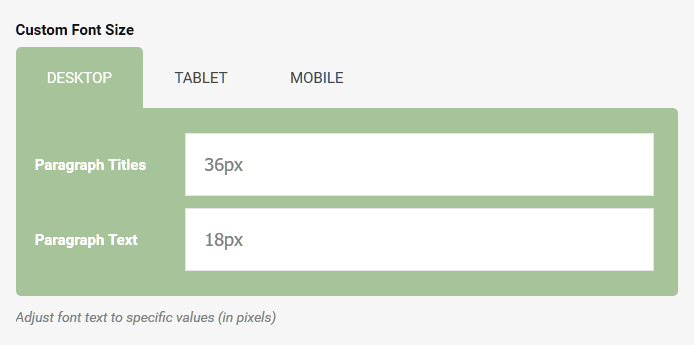 3.5. Turn on Full-height to let the section cover a full screen; and turn on Equalize Column Heights to make sure you set equal height for all two columns. 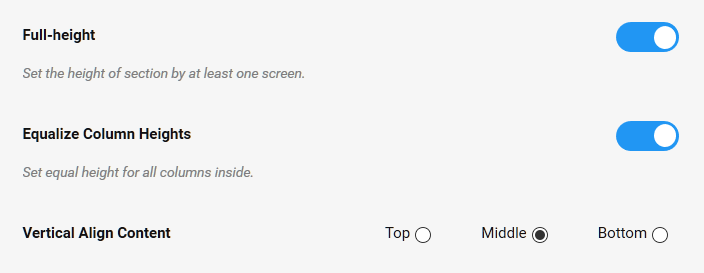 Step 4: Customize each column Corresponding to each column, click on each box to create your own custom settings that include: background; title and text color; border color, thickness, types; padding; effect; etc. 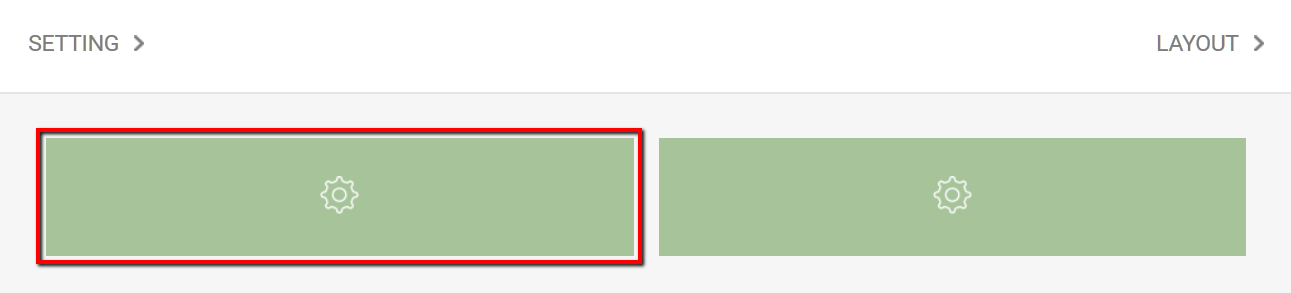 Column 1 Upload a background image; and choose a background color. 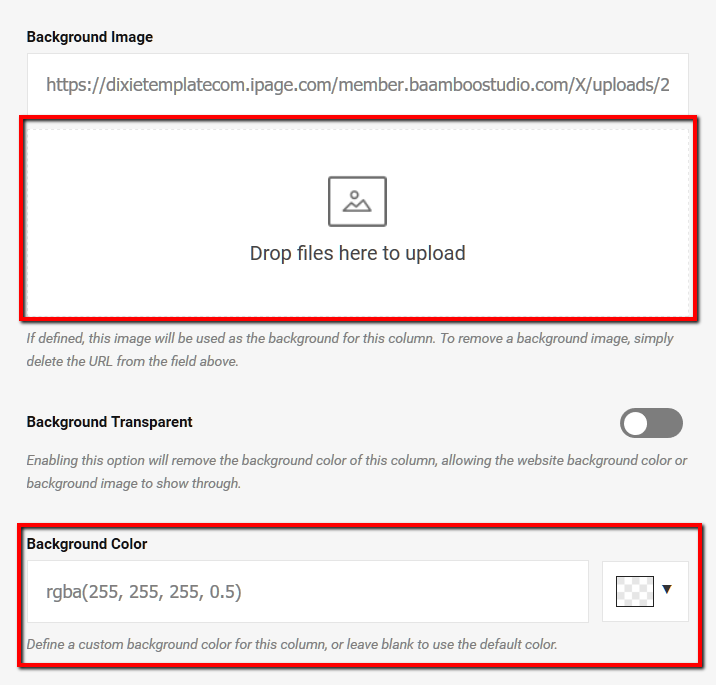 Column 2
 Click on Done button at the right top of the screen when you have finished with editing. 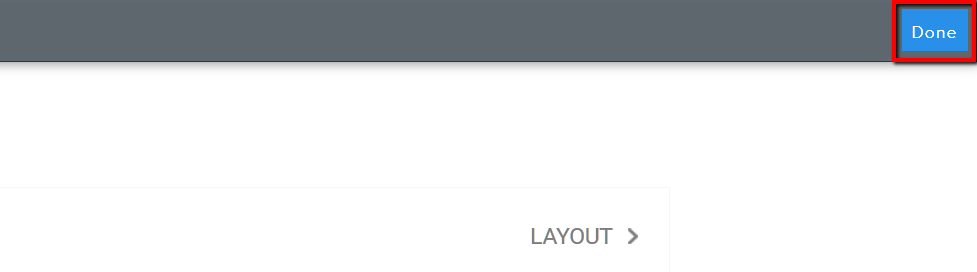
2 Comments
8/11/2019 07:46:24 pm
Just starting to build our site. Your link to the sample at the top of this page is broken. I am also unable to get the padding around the 2 images to work. I can not get the padding between the images, it seems to be registering as a single image. 8/18/2019 06:24:35 am
There are some interesting points in time in this article but I don?t know if I see all of them center to heart. There is some validity but I will take hold opinion until I look into it further. Good article , thanks and we want more! Added to FeedBurner as well Leave a Reply. |
Want a refreshed website? >>>
 RSS Feed