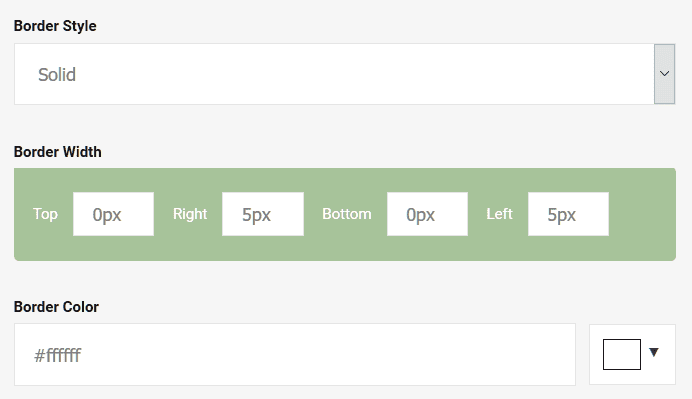
 You can refer to the following example to see how the section looks in a live site: http://vinetemplate.weebly.com/home-2.html Step 1: Drag & drop X element 1.1. Within Weebly Editor, click on Build tab, navigate to STRUCTURE then drag and drop Section into the right position of your building page. 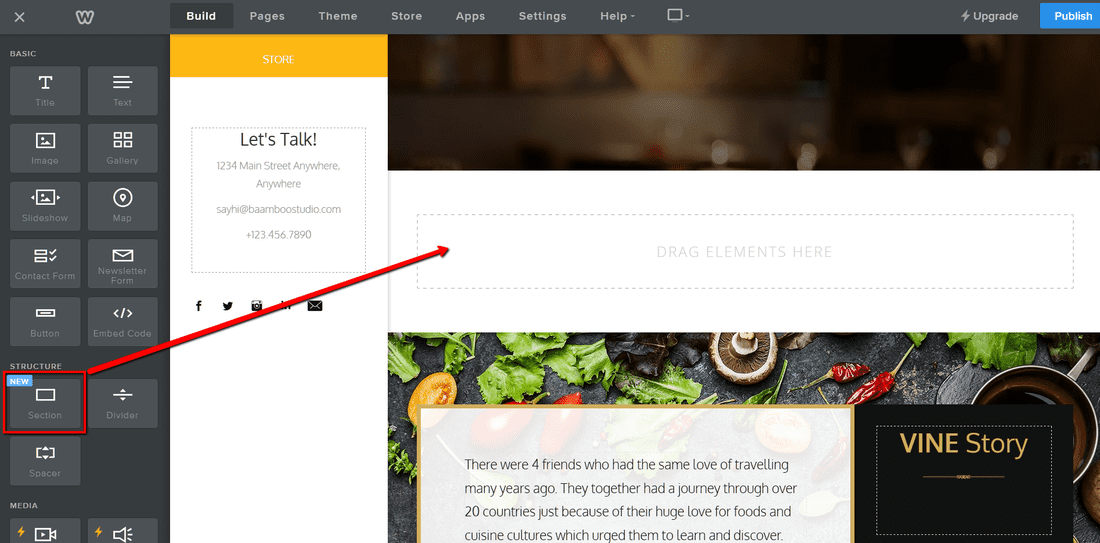 1.2. Navigate to THIRD PARTY then drag and drop X into the section. 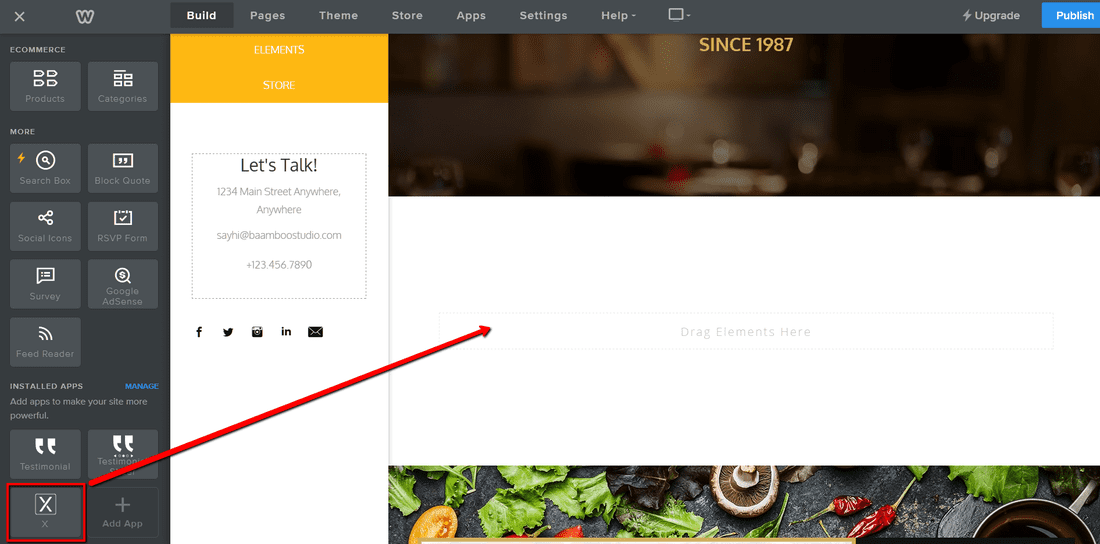 Step 2: Choose display mode Click on a blank area of X and choose Normal in a pop-up Settings box. 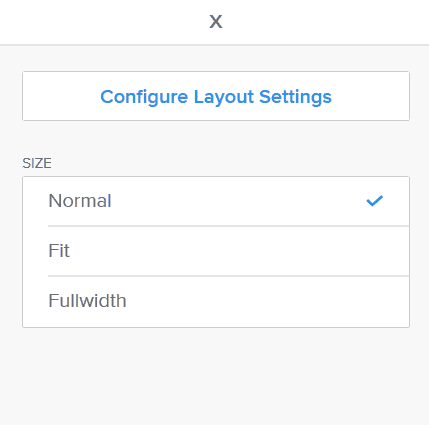 Step 3: Choose column structure In the Setting box, click on Configure Layout Settings to show the Settings panel. 3.1. Click on LAYOUT. 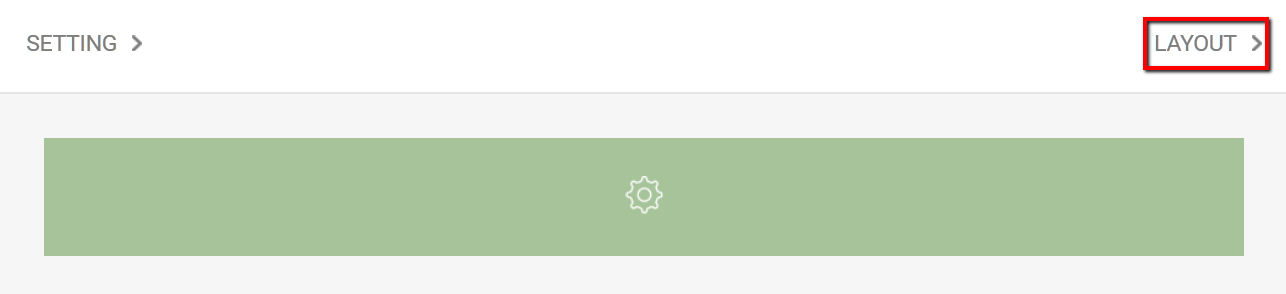 3.2. Choose the 1/2 - 1/2 layout. 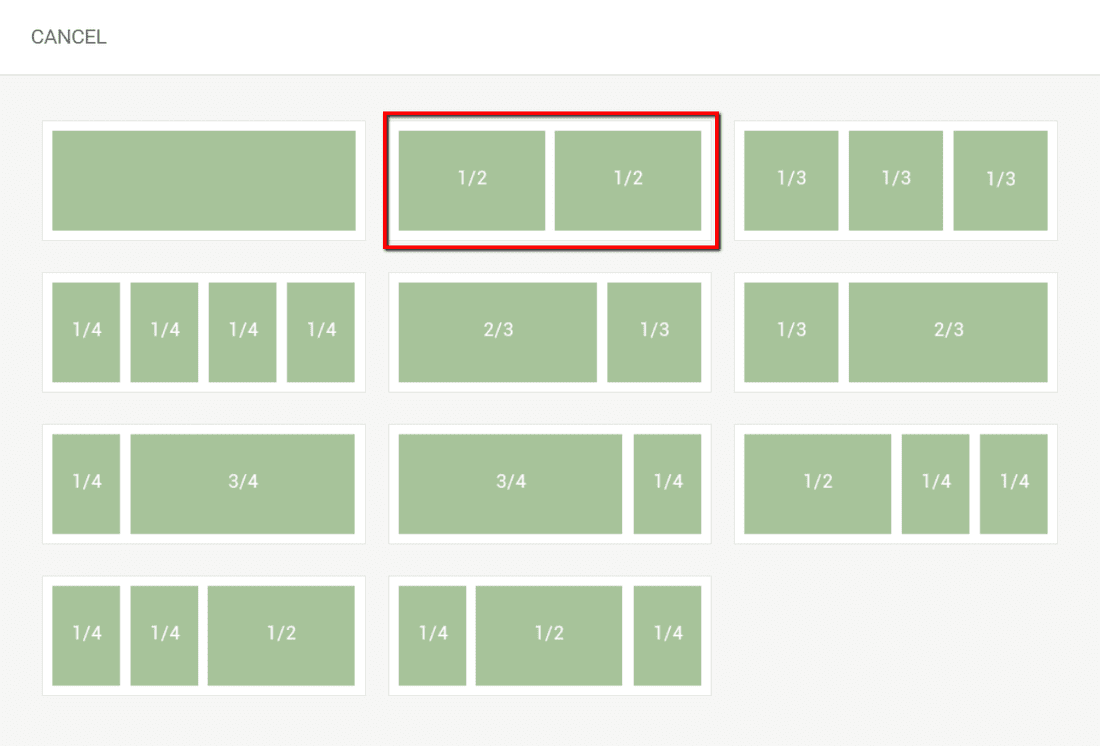 3.3. Click on SETTING. 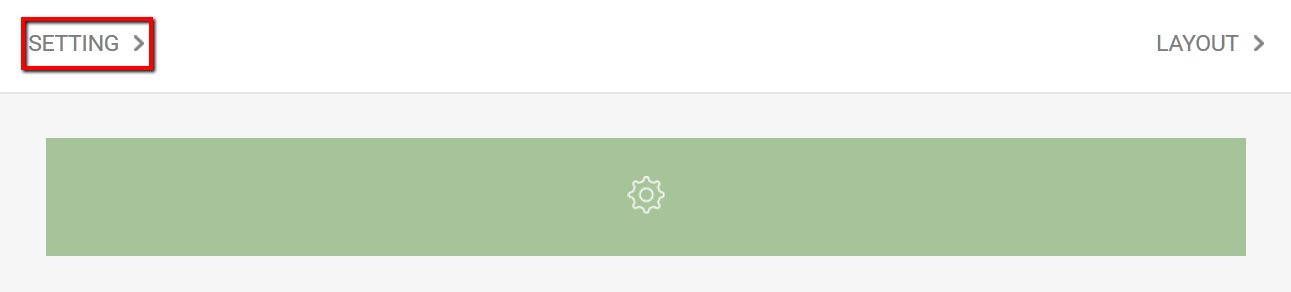 3.4. Enable Background Transparent to allow the section's background image to show through. 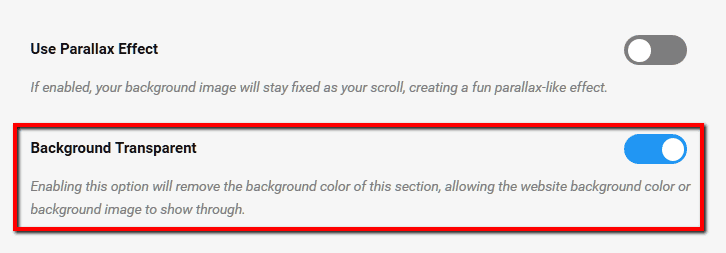 3.5. Set font sizes for title and text. 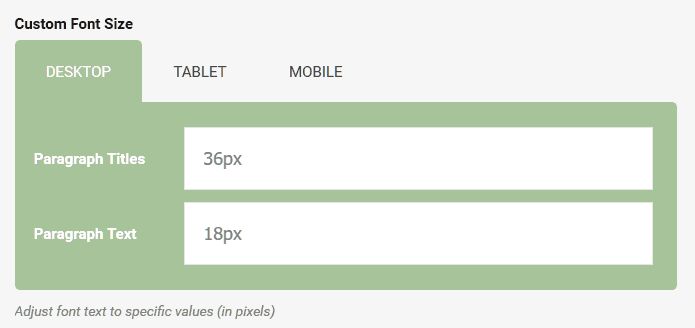 Step 4: Customize each column Corresponding to each column, click on each box to create your own custom settings that include: background; title and text color; border color, thickness, types; padding; effect; etc. 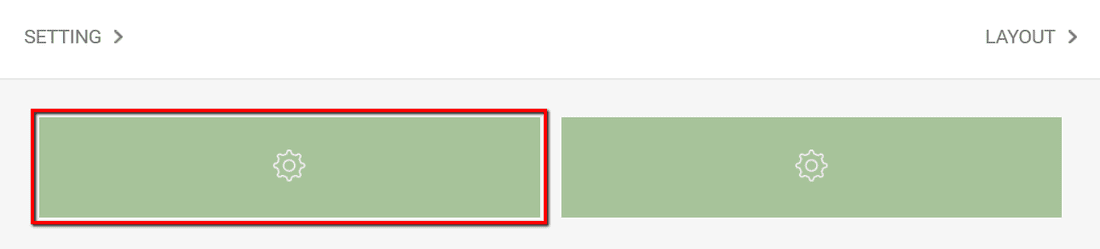 Column 1 Customize the border and padding. 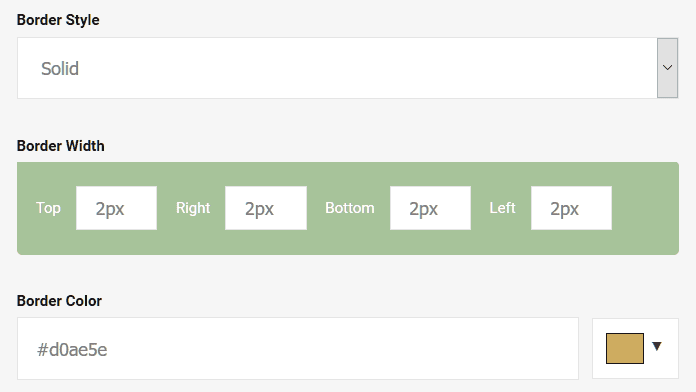 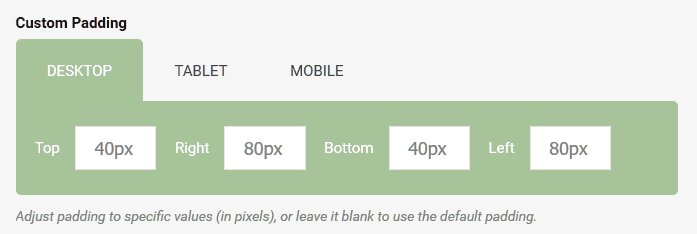 Column 2
 Click on Done button at the right top of the screen when you have finished with editing. 
2 Comments
Birgitte Stærnes
11/7/2017 09:42:50 am
How can I intergrate a read more button into the column with text. I would like the column just to show a few lines, then if you push the read more button, the column will opens and show all the text. I don't want it to link to another page.
Cassie
11/27/2017 12:37:20 pm
Do you have any video tutorials? I can't figure it out. Leave a Reply. |
Want a refreshed website? >>>
 RSS Feed